If you’re looking for a beast of a grill that combines craftsmanship, durability, and grilling performance, look no further than the Kamado Joe Big Joe Series III. In this comprehensive review, I’ll take you through my personal experience unboxing, assembling, and cooking on this monster of a charcoal grill. Spoiler alert: the results were fantastic, but getting there had its challenges!
What to Expect When Ordering a Kamado Joe Big Joe
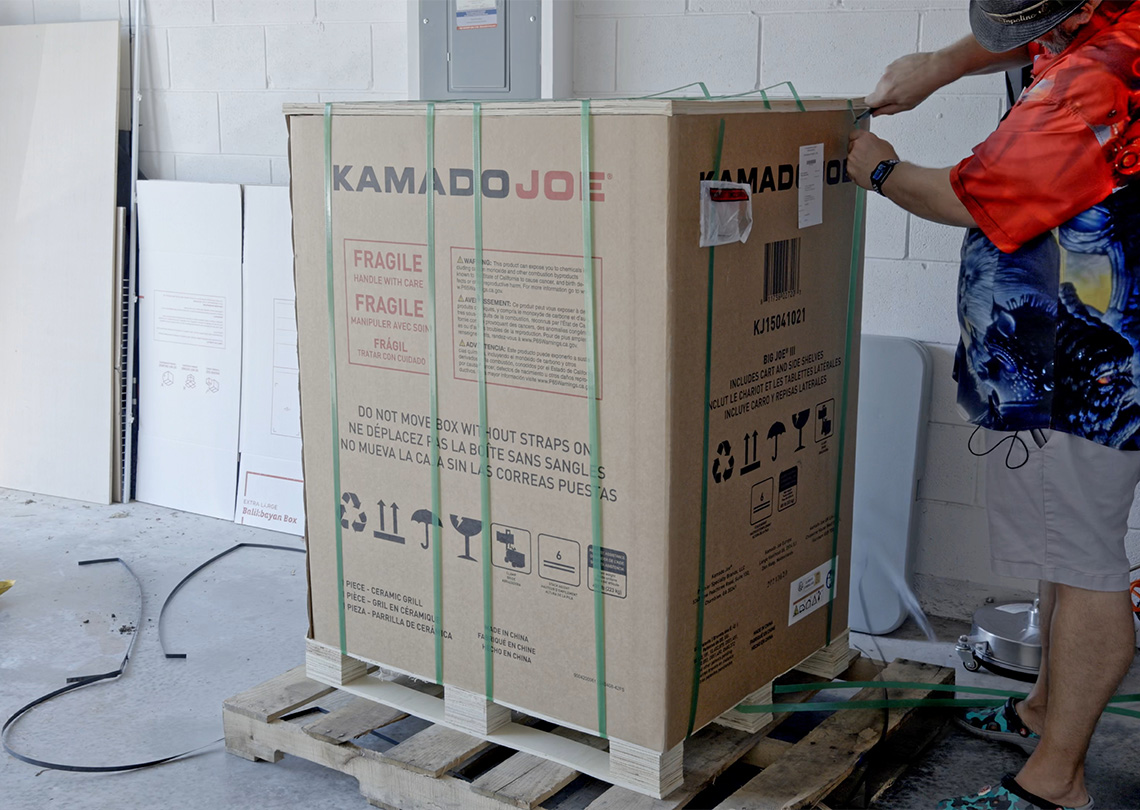
When my Kamado Joe Big Joe Series III arrived, it wasn’t delivered in your typical UPS truck. This grill came on a pallet, weighing over 500 pounds! If you're planning to get one, make sure you’ve got space and a strong friend to help you out. My delivery driver had no choice but to drop it off in my garage since there was no easy way to get the grill across my yard on a pallet jack.
This initial part of the process might seem daunting, but don’t worry, the Kamado Joe Big Joe Series III comes packed securely, and once unboxed, it’s all about figuring out how to assemble it – which, trust me, is easier than it looks.
Unboxing the Kamado Joe Big Joe Series III
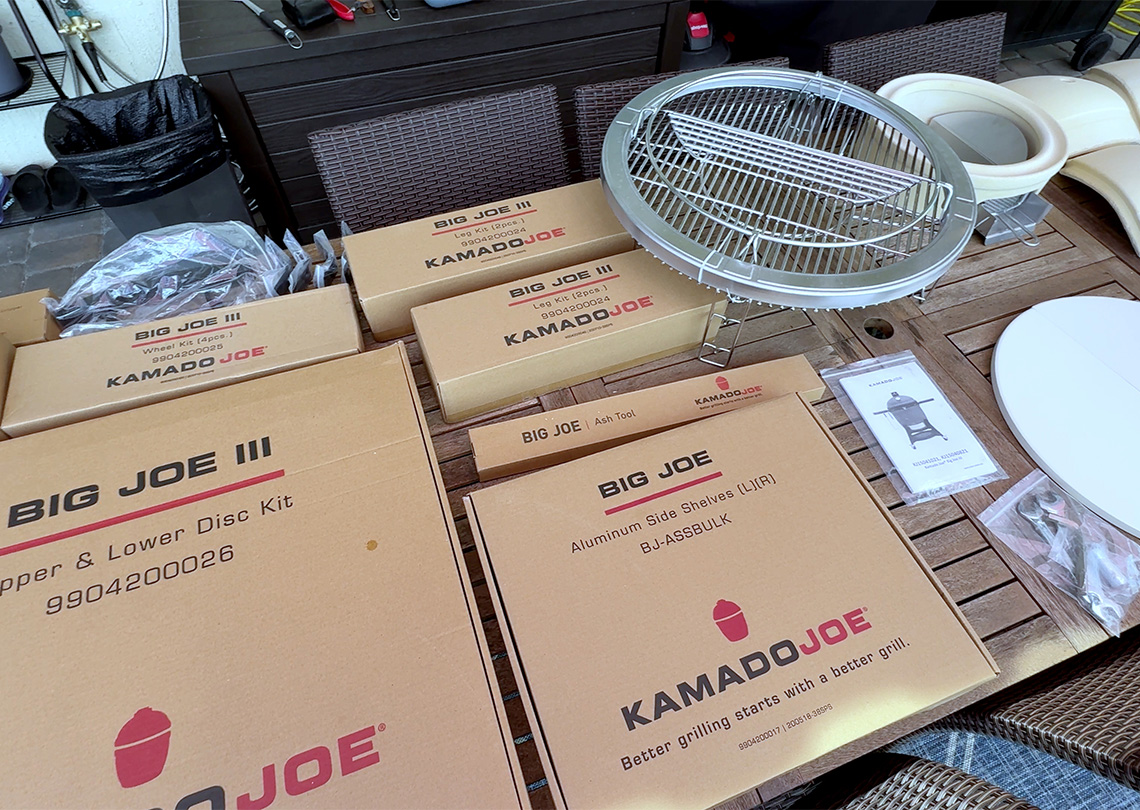
Before I dive into the assembly process, let me give you a piece of advice: make sure to follow the instructions! Inside the box, you’ll find a lot of components, including the grill’s ceramic insides, the firebox, and the cart.
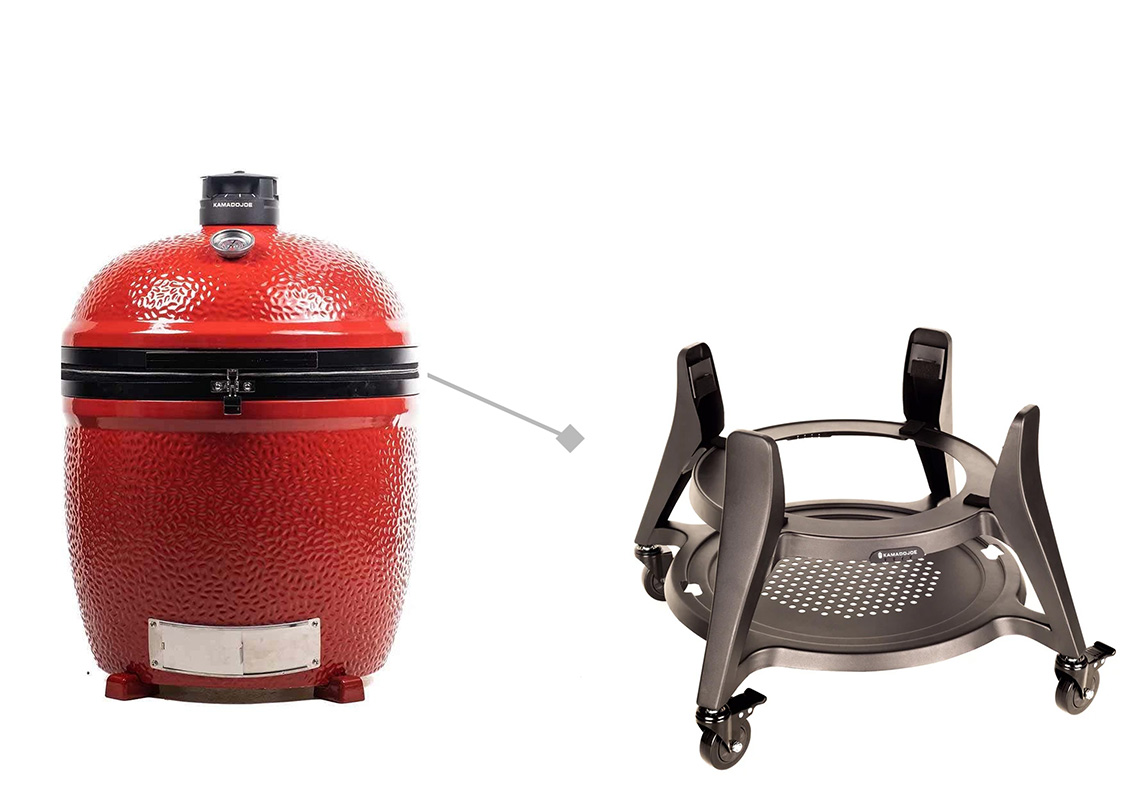
Getting the grill onto the cart was probably the trickiest part. Luckily, I had a friend help me out, and between the two of us, we managed to lift the 300-pound grill into position.
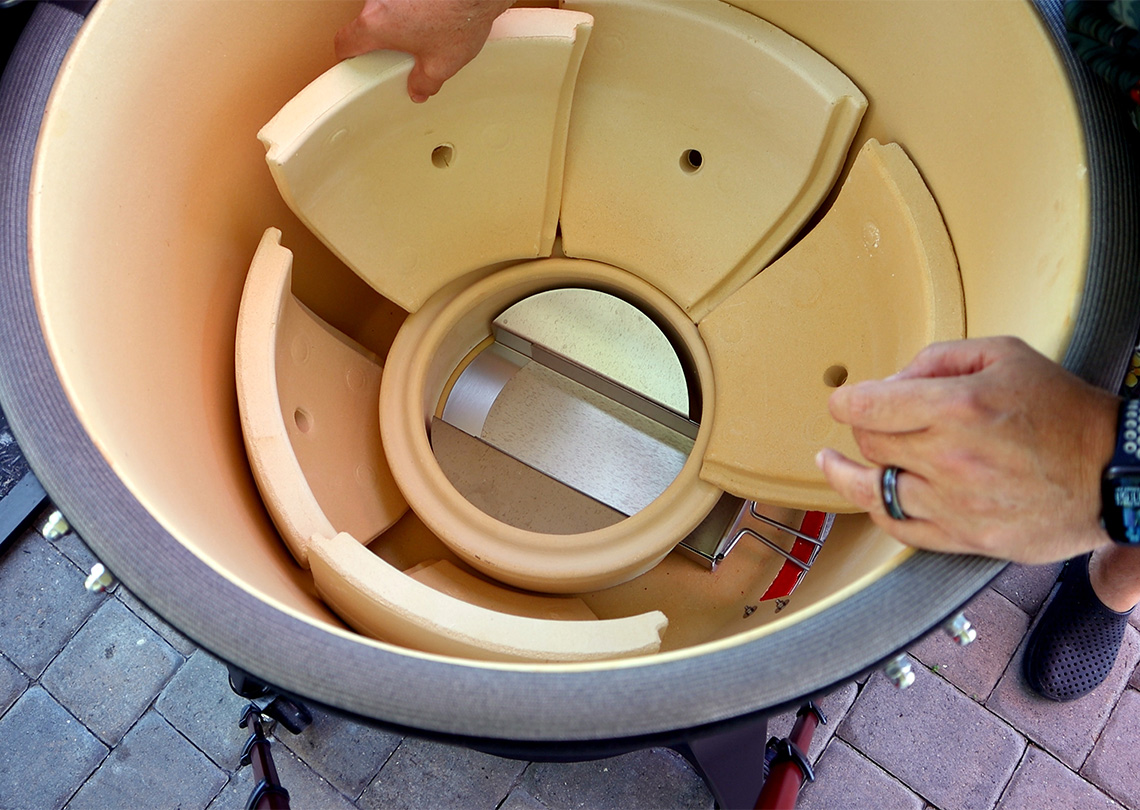
Once the grill was in the cart, it was time to put together the firebox. This consists of a few ceramic pieces that need to be aligned in a circular formation. Shoutout to James from Smoke and Dad BBQ for the pro tip on using wads of paper towels to hold everything in place while assembling the firebox. That trick saved me a ton of frustration!
After that, it was a matter of sliding in the ash-catching assembly, placing the ceramic ring, and inserting the charcoal basket. There’s also a heavy-duty metal ring that holds the ceramic pieces in place. The assembly was straightforward, especially since the Kamado Joe Big Joe Series III comes with all the necessary tools.
Key takeaway: The assembly process may seem intimidating, but it’s well thought out, and Kamado Joe includes all the tools you need.
First Burn-In: Prepping the Kamado Joe Big Joe Series III
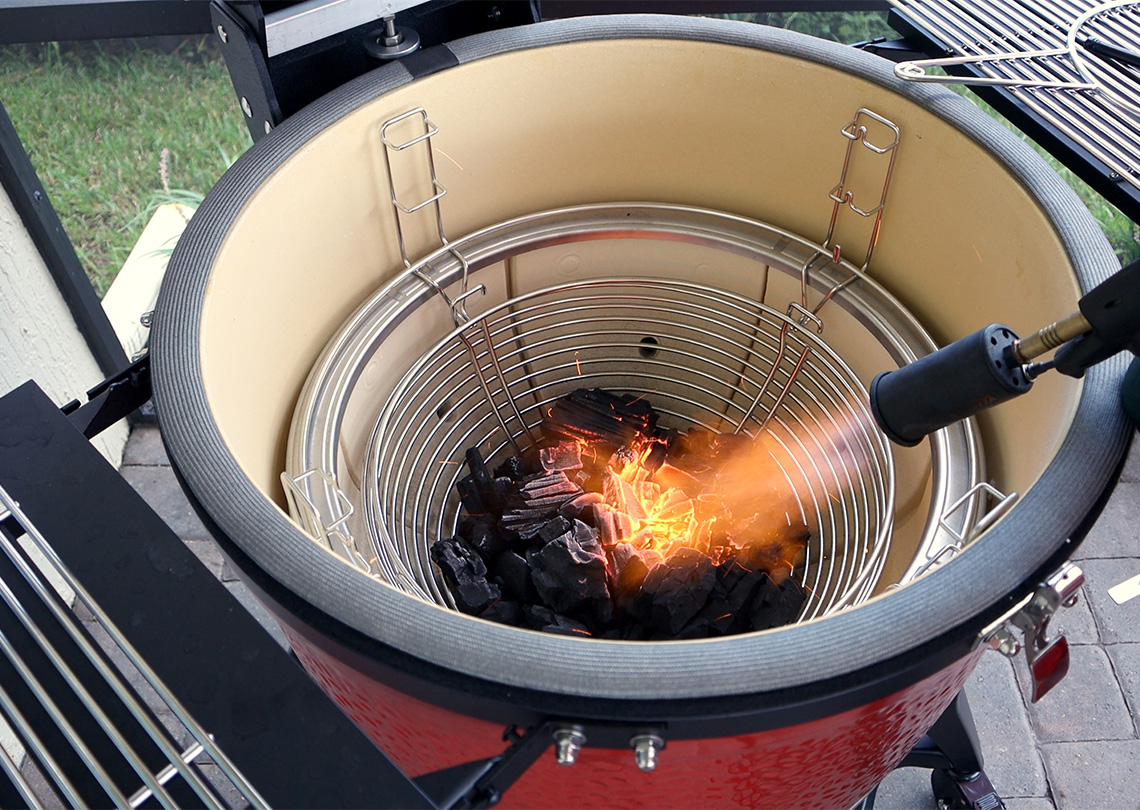
Before you can get cooking, the Kamado Joe Big Joe Series III requires a burn-in. You need to load 3 to 5 pounds of charcoal and heat the grill to 400°F (204°C) for about an hour to season it properly.
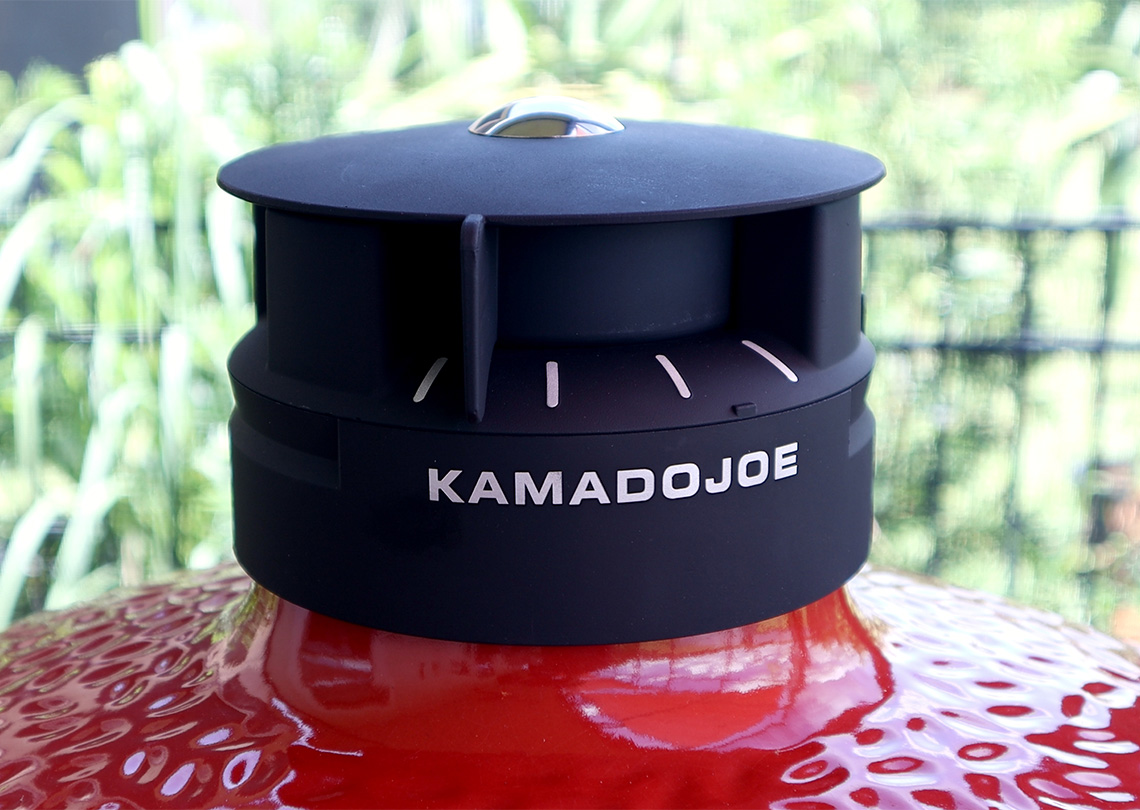
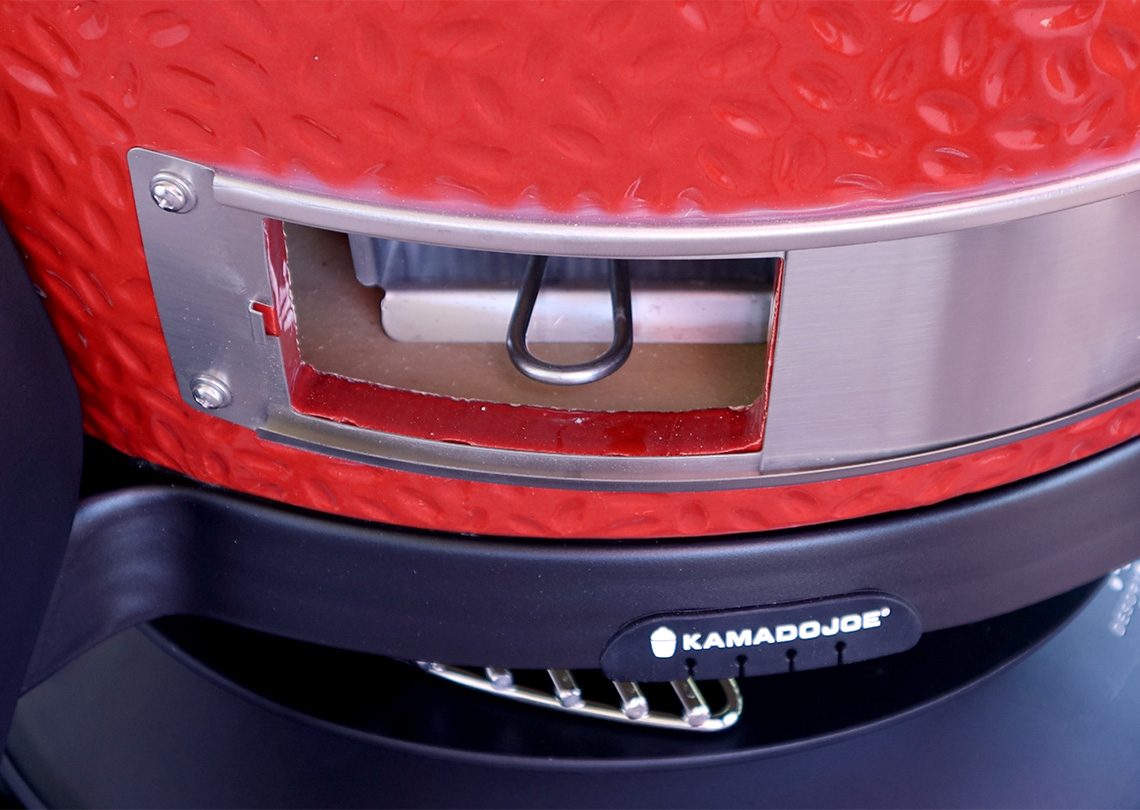
The dual damper system on this grill is easy to manage, even if you’re new to kamado-style grills. I opened the bottom damper about halfway and the top damper to setting 3. With some patience, I got the grill to stabilize at 350°F (177°C), which is perfect for grilling a whole spatchcocked chicken.
Grilling on the Kamado Joe Big Joe Series III
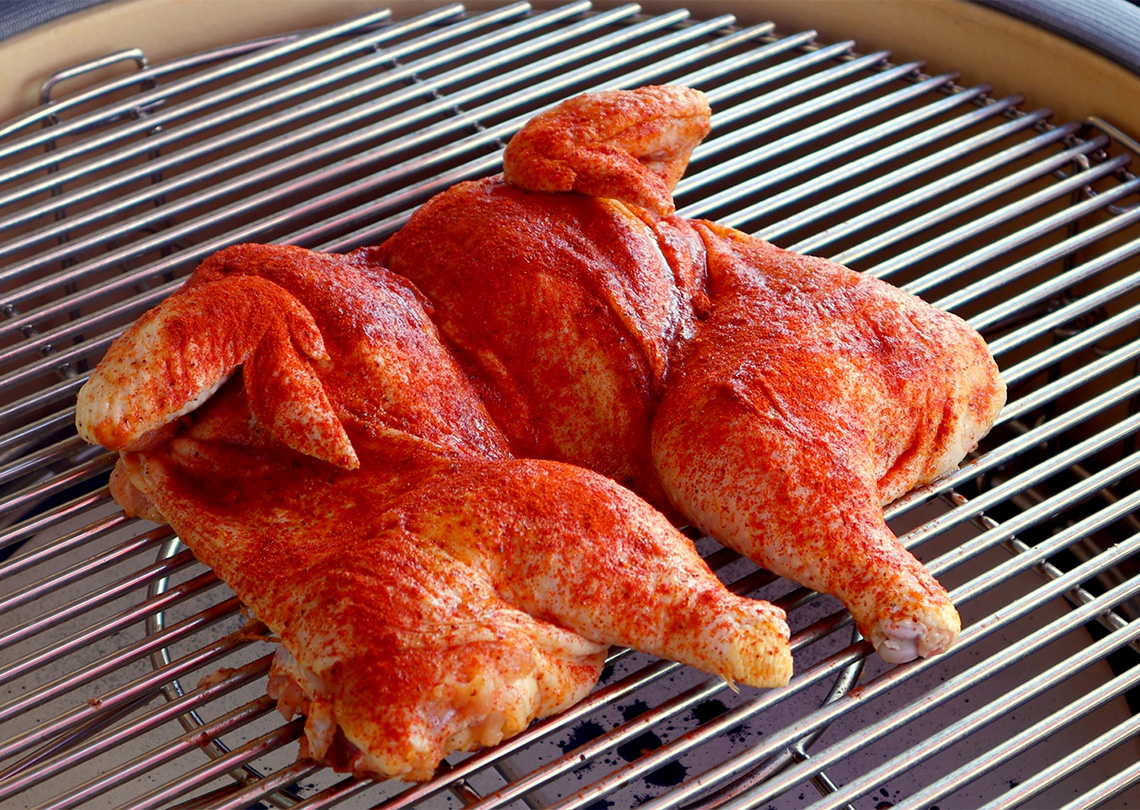
Once the burn-in was complete, I was eager to see how well the Kamado Joe Big Joe Series III would perform with real food. I decided to keep it simple for the first cook and grilled a spatchcocked chicken. After prepping the chicken with a bourbon peach rub and some smoked paprika, I tossed it on the grill at around 350°F.
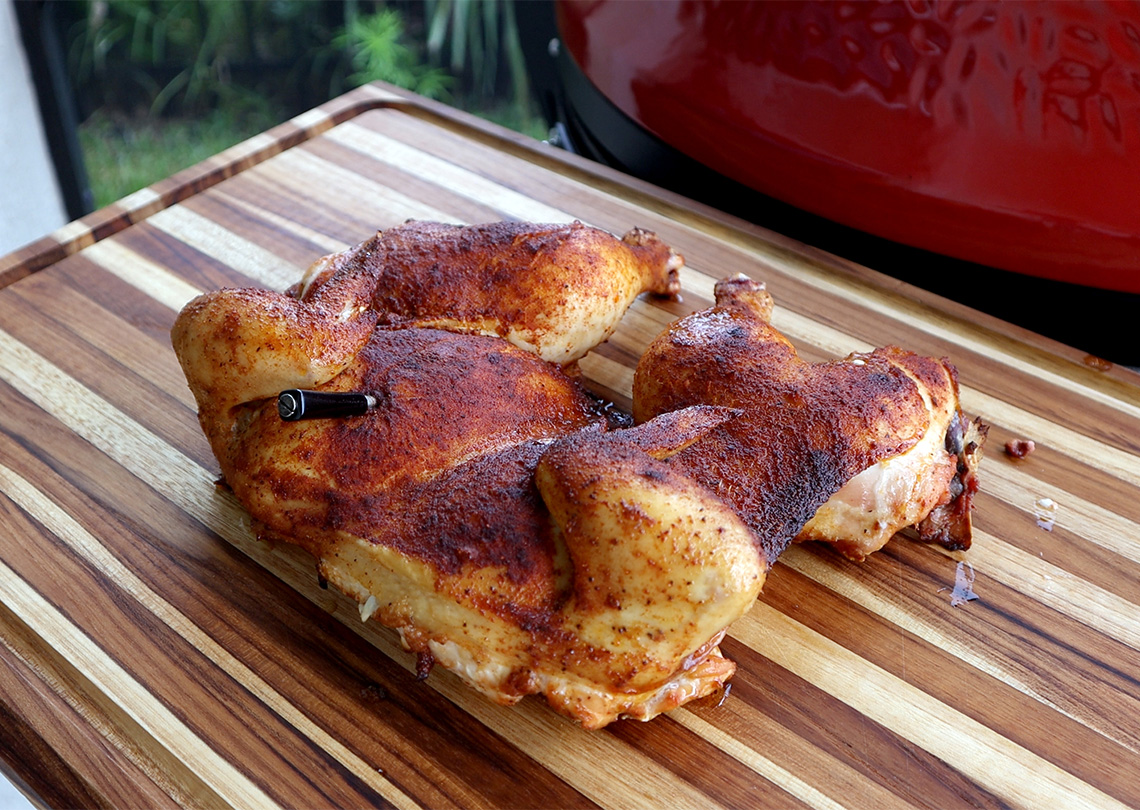
The results? While I didn’t get the crispy skin I hoped for, the chicken turned out incredibly juicy. I believe the lack of crispy skin was due to my fire starting to die out towards the end, not because of any fault with the grill itself. Next time, I’ll make sure to build a bigger fire to maintain higher temperatures longer.
Efficiency and Temperature Control
One thing that impressed me about the Kamado Joe Big Joe Series III is how well it maintains temperature. Once the grill stabilizes, it holds the temp really well, even in fluctuating weather conditions (Florida weather decided to “Florida” on me, and I had to contend with rain). The control top and bottom vent make it so easy to control and dial in your temps.
I was also pleasantly surprised by how little charcoal I used. Despite its size, the Big Joe Series III is incredibly fuel-efficient. I initially thought I would go through bags of charcoal, but that wasn’t the case. This grill uses minimal fuel while still maintaining high heat, which is perfect for low and slow cooking as well as high-heat grilling.
Final Thoughts on the Kamado Joe Big Joe Series III
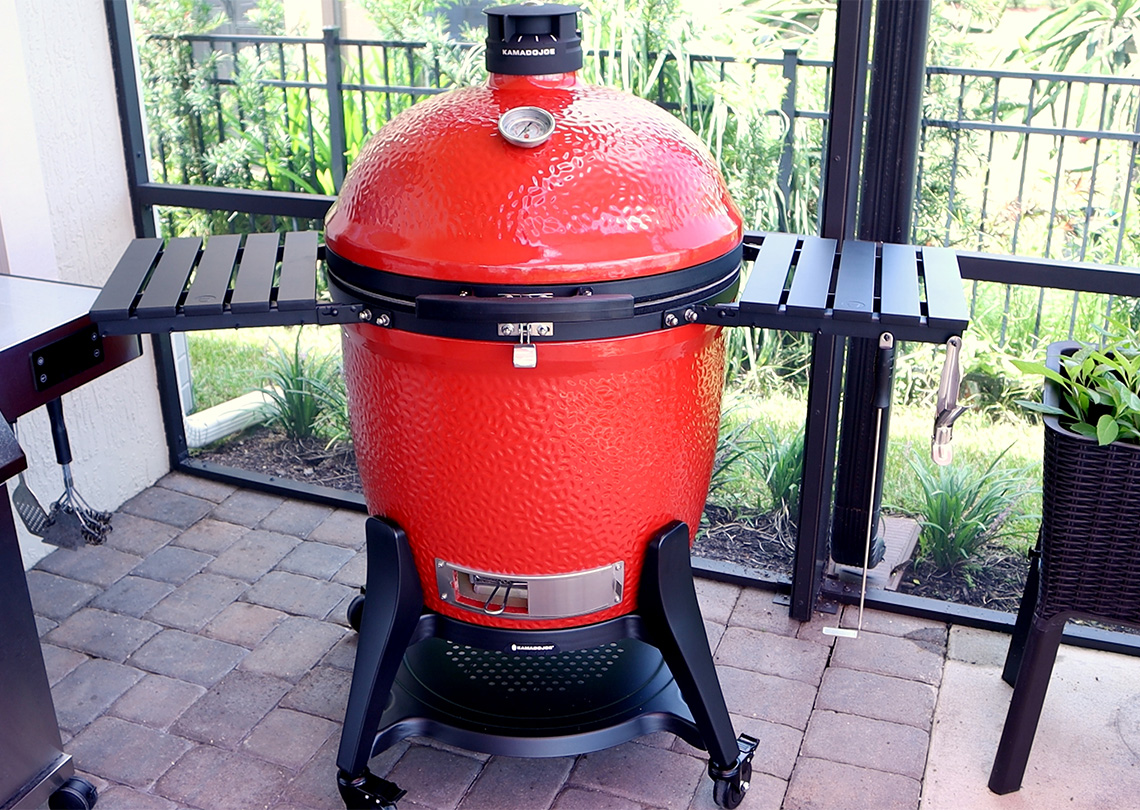
When I first saw the size of the Kamado Joe, I was a bit intimidated. This thing is massive, and I was concerned it would be difficult to use. But once it was set up, I was pleasantly surprised at how easy it was to operate. The hardest part of the whole process was lifting the grill into the cart—everything else was smooth sailing. Cooking on the Kamado Joe without the Sloroller felt just like using any other charcoal grill, only better.
The Next Adventure? The Sloroller!
Iv'e only scratched the surface of what this grill can do. Next up, I’ll be testing out the Sloroller for smoking meats. If you’re into BBQ, you know the importance of low and slow cooking, and I can’t wait to see how the Kamado Joe performs in this arena. Stay tuned for more experiments, and I’ll be sure to share the results with you!
Don't Like Reading?
Tired of reading and want to watch a video of the whole process? Dad Got This!
Links:

